 Hi lovelies! This past weekend when I went to Spring at the Silos, I wanted to have an easy and quick way to provide my contact information, if necessary. I have a business card company I love, but didn’t have the time to design and wait for shipping. The night before we headed down to Waco, I gathered a few supplies and put these contact cards together. For those in any creative business, these are one way to share your information when you are at shows or gatherings, if you don’t otherwise have business cards. They take a little computer savviness but are otherwise a unique way to represent yourself. So let’s get to it!
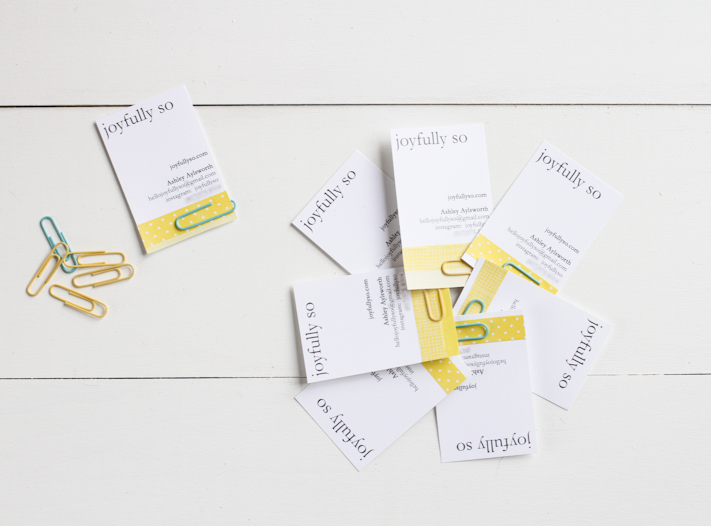
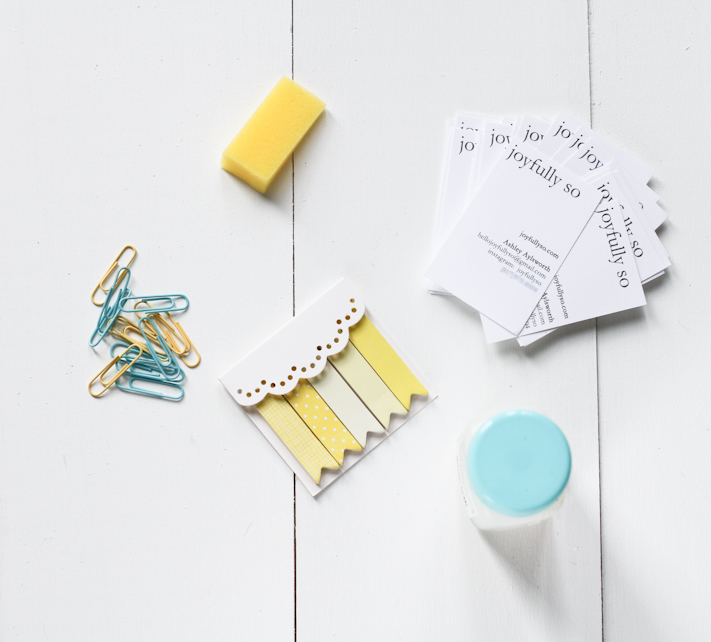 I used yellow paper strips because the colors go with my brand. Paperclips add another dimension, making your cards stand out from the many 2-dimensional cards on the market. Use any type of clip that works for you!
DIY Contact Cards
Supplies:
- Thick cardstock (110 lb, or thicker)
- Computer + printer
- Scissors
- Washi tape or colored paper
- Adhesive (my go-to glue) + sponge, if needed
- Paperclips
Instructions:
- On your computer, create a document with your information (name, website, etc..). The standard business card size is 3.5 x 2 inches, so I placed everything to fit into that size. Allow for space to place the washi tape on the card.
- Depending on the software you use, you can either copy and paste this information several times to fit 9 cards comfortably onto one sheet of cardstock. Or you can create a “label” document and print this as if you are printing off labels.
- Print off your cards onto the cardstock. Carefully cut out the individual cards.
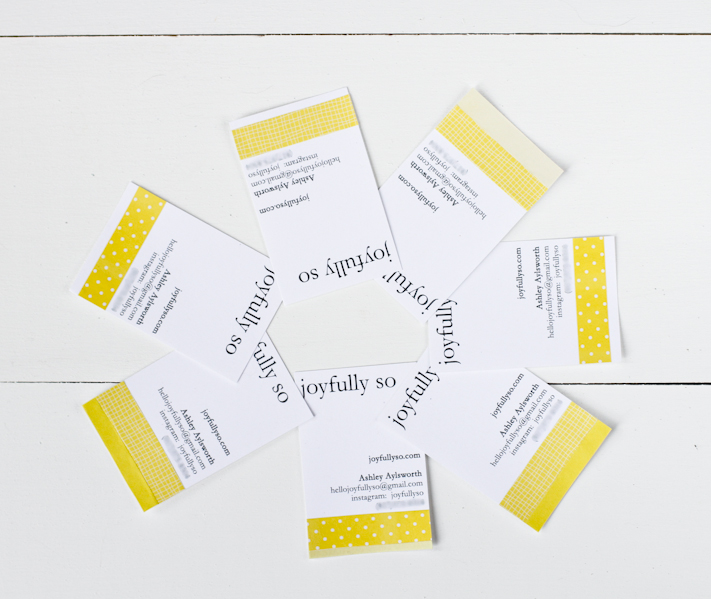
- Attach washi tape or thin strips of colored paper to your contact cards. If using colored paper, apply a very thin layer of glue to the paper with a sponge. This prevents lumps/bumps in the paper.
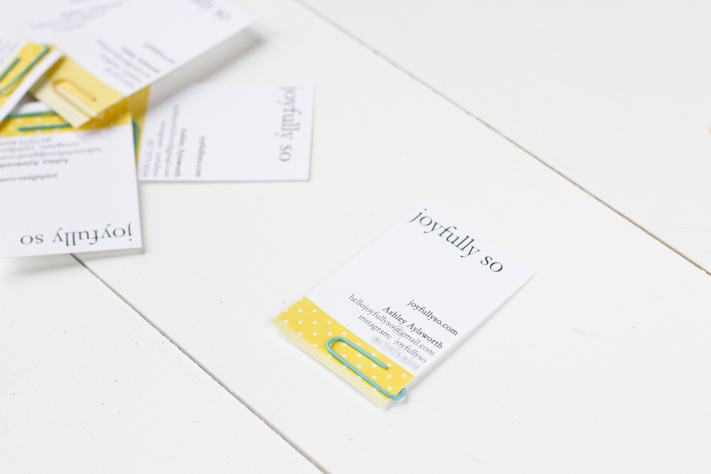
- Place paperclips over the tape/paper.
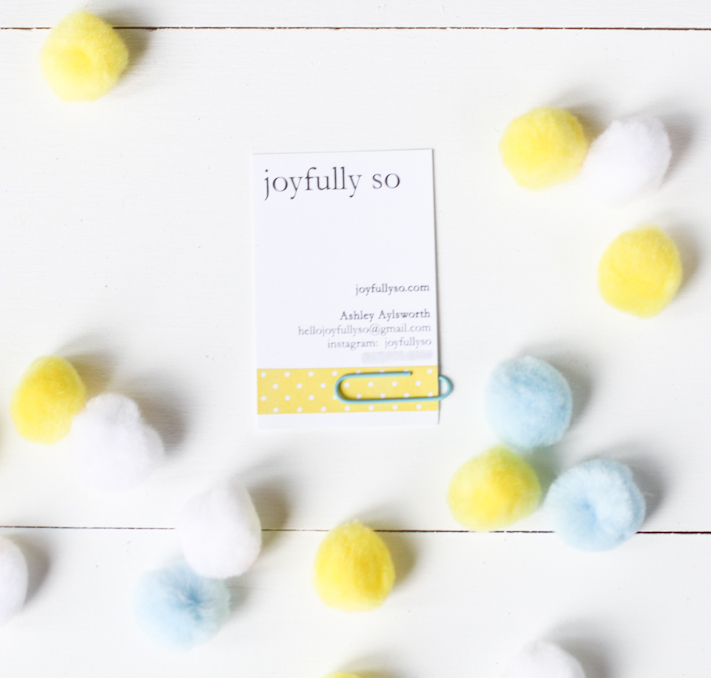
Live your life joyfully so,
Ashley
Omg yellow is my all time favorite color and this is so pretty and unique! You’re so talented and creative!!!